

How to Create a Haunted House in Your Garage
Transforming your garage into a haunted house can be an exciting project that brings the spirit of Halloween right to your doorstep. With creativity, some DIY skills, and a touch of spookiness, you can create a thrilling haunted experience that will leave guests screaming for more. Here’s a comprehensive guide on how to turn your garage into a terrifying haunted house.
Introduction
Creating a haunted house in your garage is a fantastic way to celebrate Halloween and entertain friends and family. By utilizing your garage space effectively, you can design a spooky attraction with eerie decor, chilling effects, and immersive experiences. This guide will walk you through the steps to build a haunted house that’s sure to impress.
Planning and Preparation
1. Set a Budget
- Determine Costs: Consider how much you’re willing to spend on decorations, props, lighting, and other materials.
- Prioritize: Allocate your budget to the most important elements, such as props and lighting, while being creative with DIY solutions for less critical items.
2. Design Your Layout
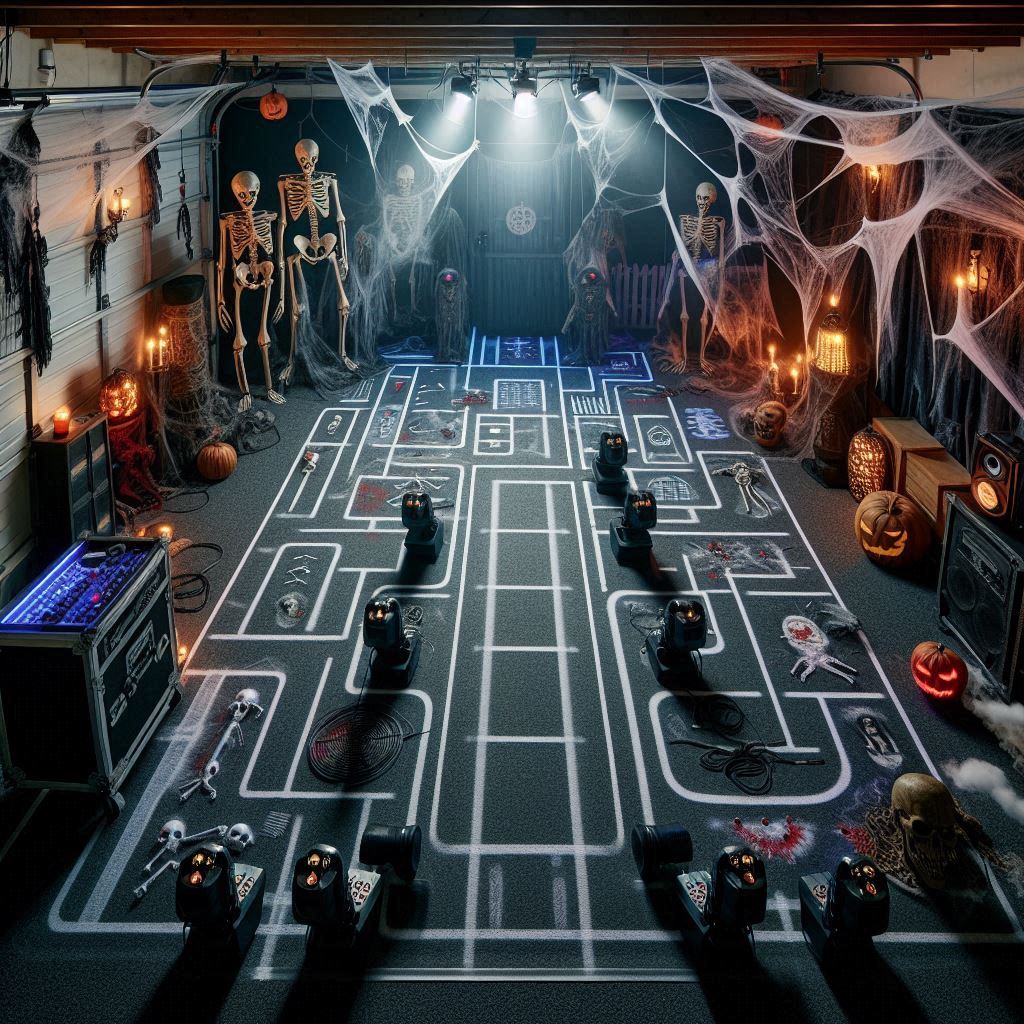
- Sketch a Floor Plan: Draw a rough layout of your garage to plan where to place various elements such as entrances, scare zones, and exit routes.
- Flow: Ensure there’s a clear path for guests to follow. Plan for twists and turns to maximize the scare factor and keep the experience engaging.
3. Gather Supplies
- Basic Materials: Cardboard, plywood, fabric, paint, and plastic sheeting.
- Decorations: Spooky props like skeletons, cobwebs, fake blood, and fog machines.
- Lighting: Flashlights, LED lights, black lights, and colored gels.
- Sound Effects: Speakers, soundtracks, and motion-activated sound devices.
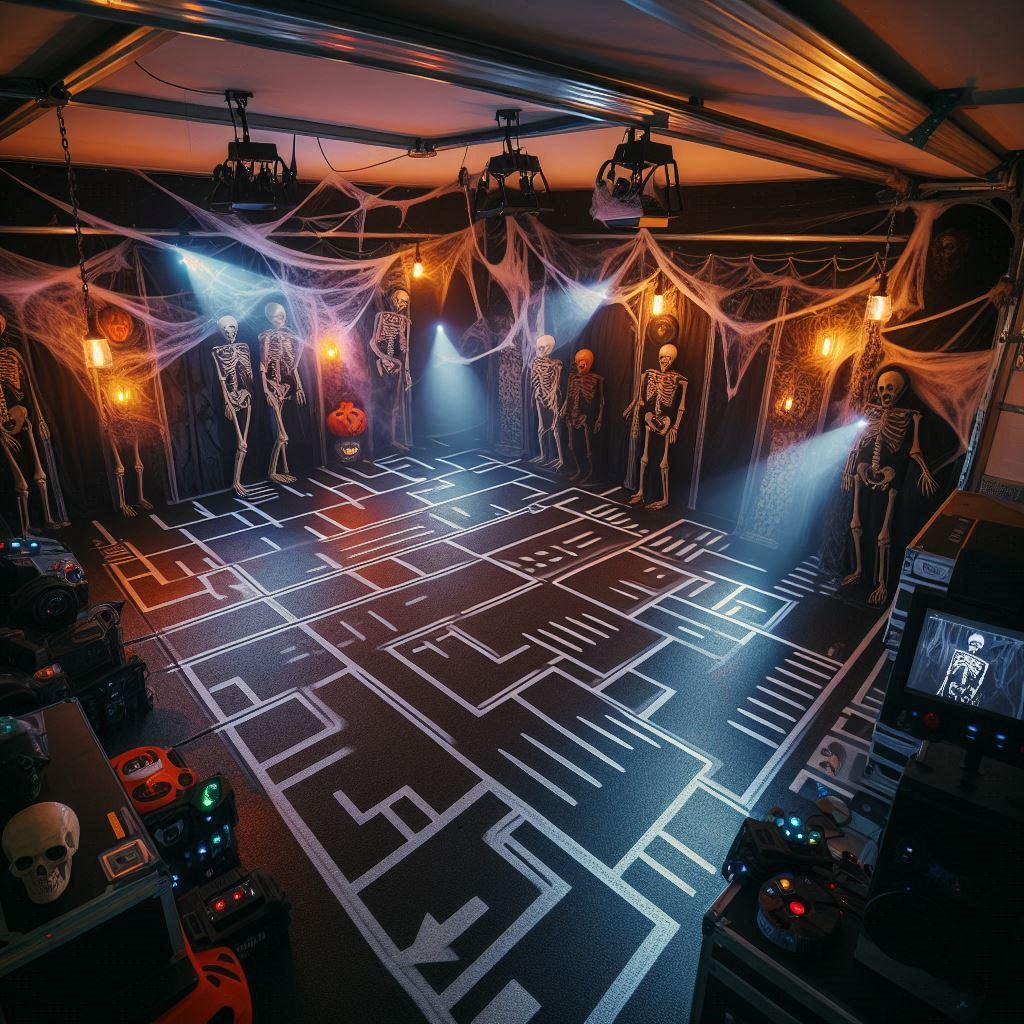
Creating the Haunted Atmosphere
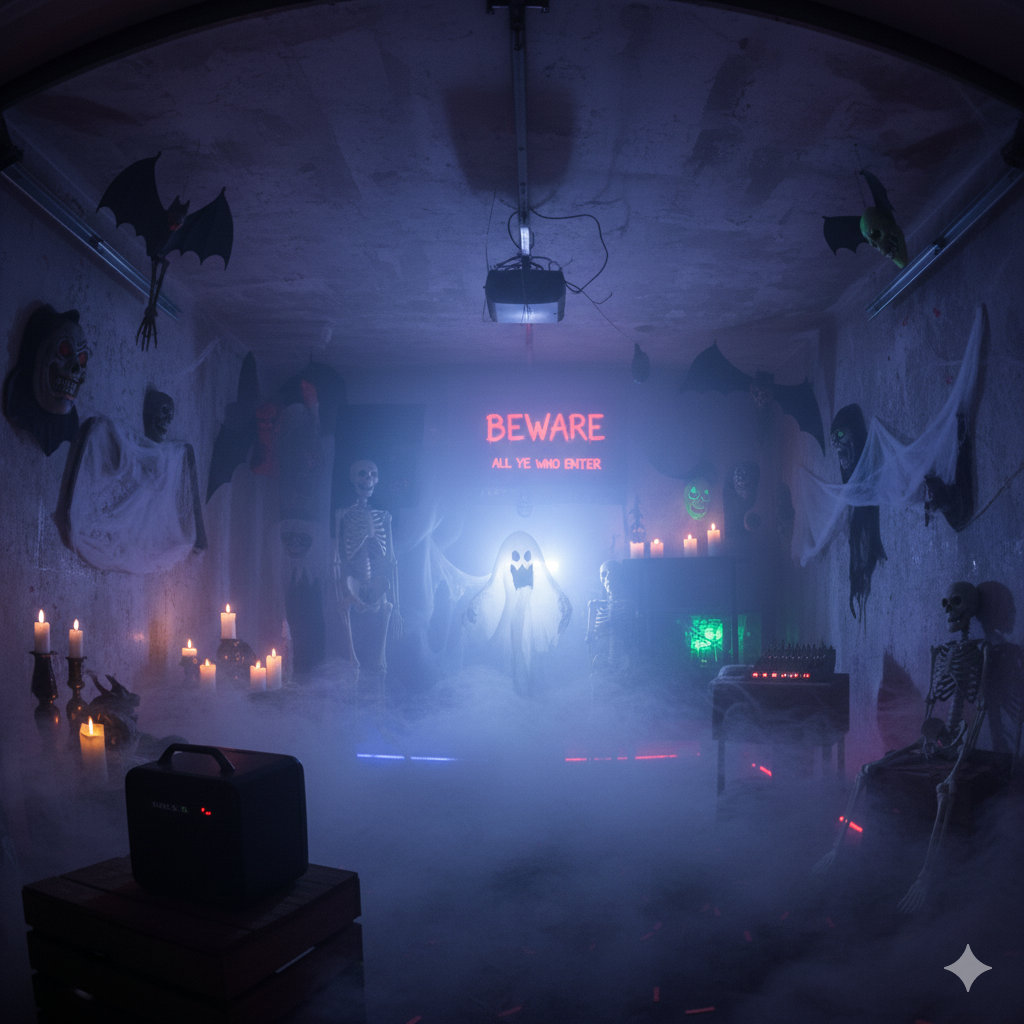
1. Spooky Decor
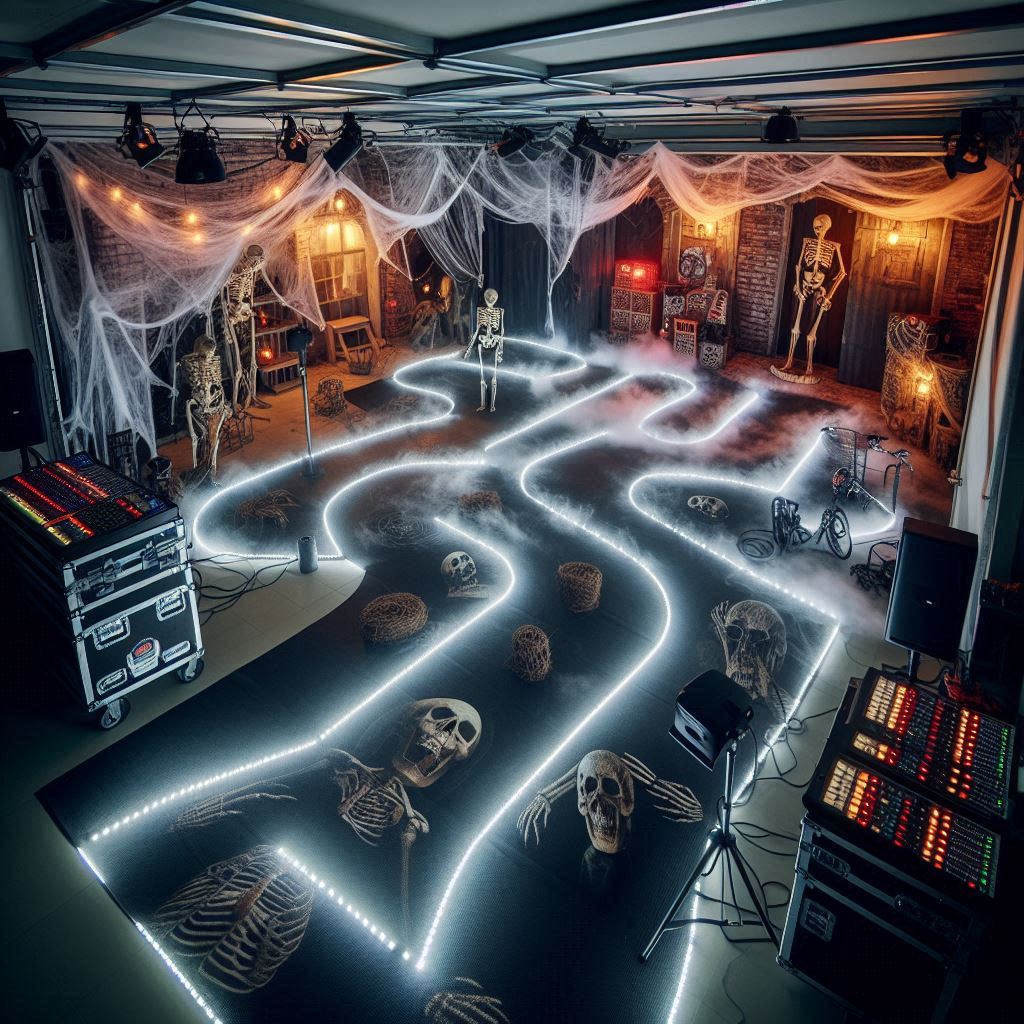
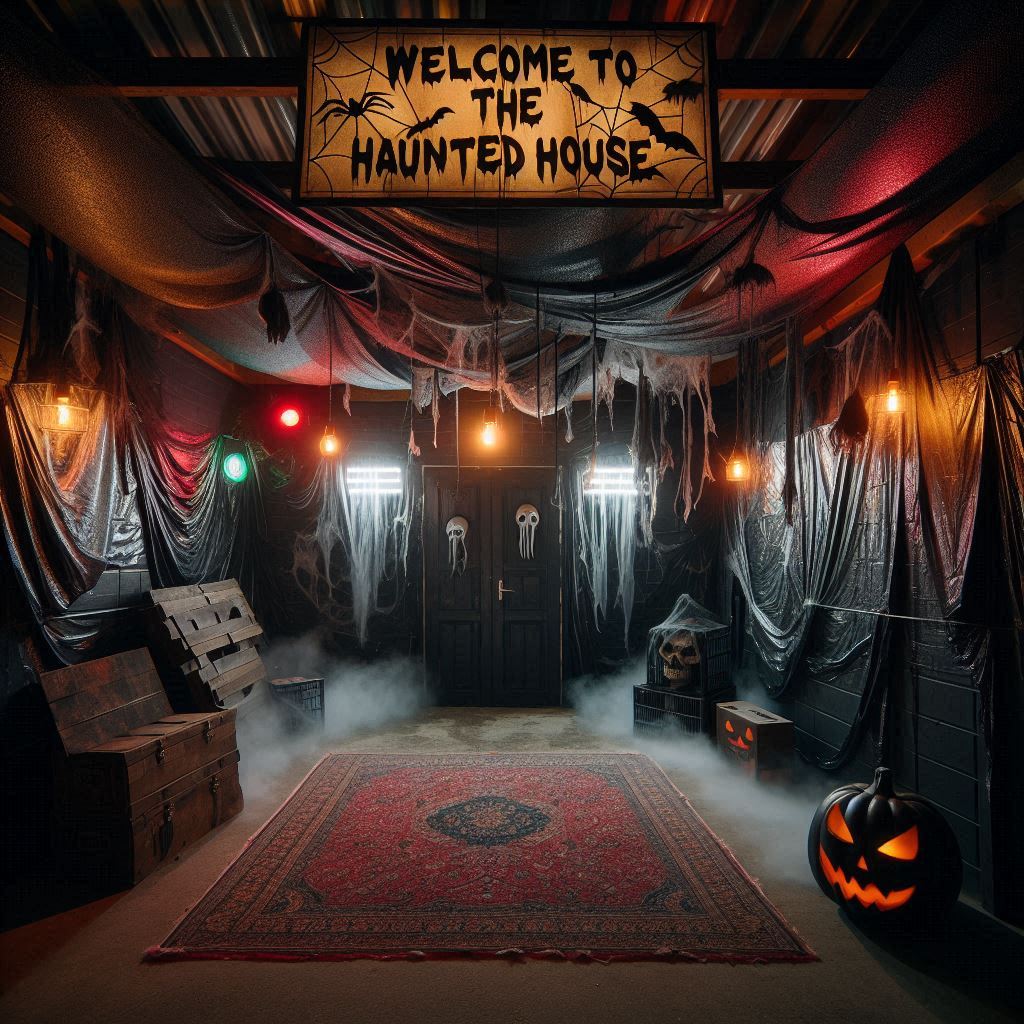
- Walls and Partitions: Use black plastic sheeting or old sheets to create dark, eerie walls. Construct partitions with plywood or cardboard to divide the space into different scare zones.
- Flooring: Cover the floor with old carpets or sheets to make it look more unsettling. You can also use fake cobwebs and dry ice for added effect.
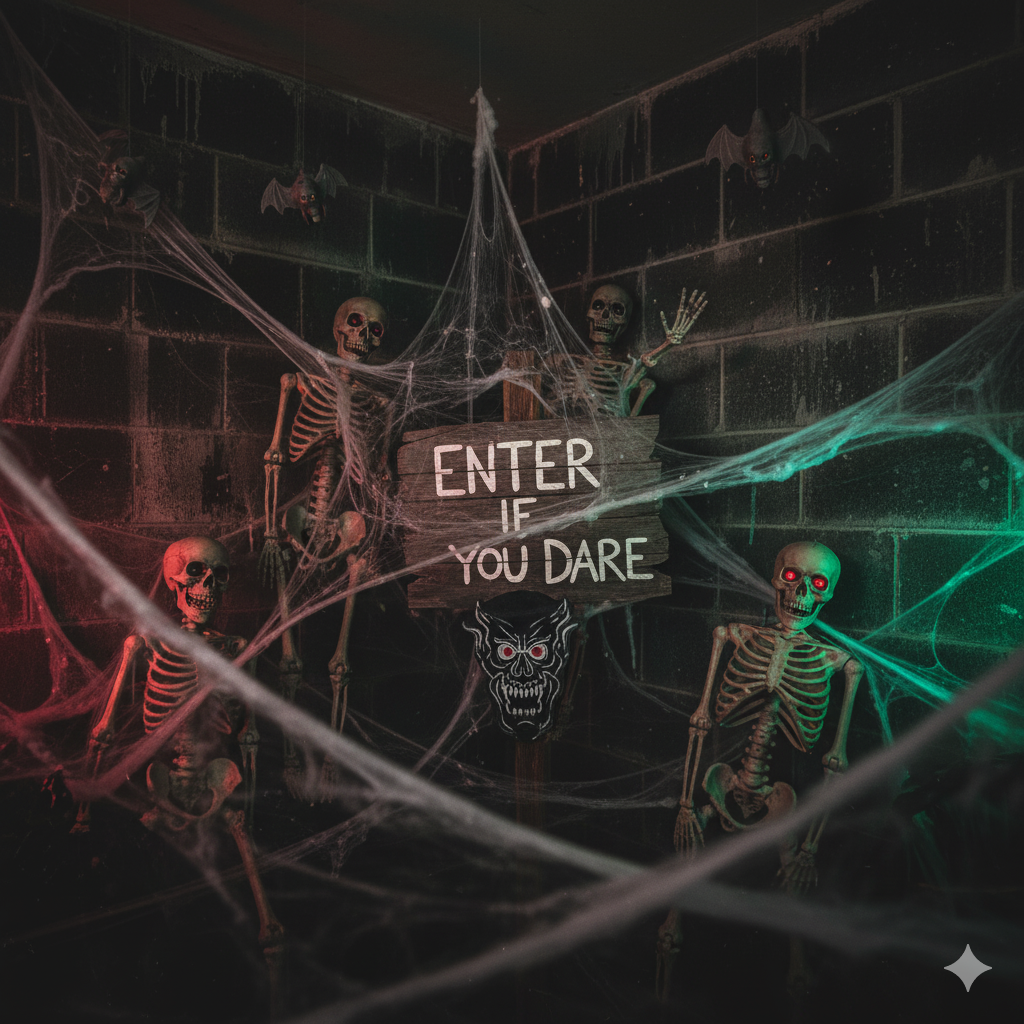
- Entrance: Create a dramatic entrance with a “Welcome to the Haunted House” sign, hanging bats, or a creepy archway made from PVC pipes and black fabric.
2. Lighting and Effects
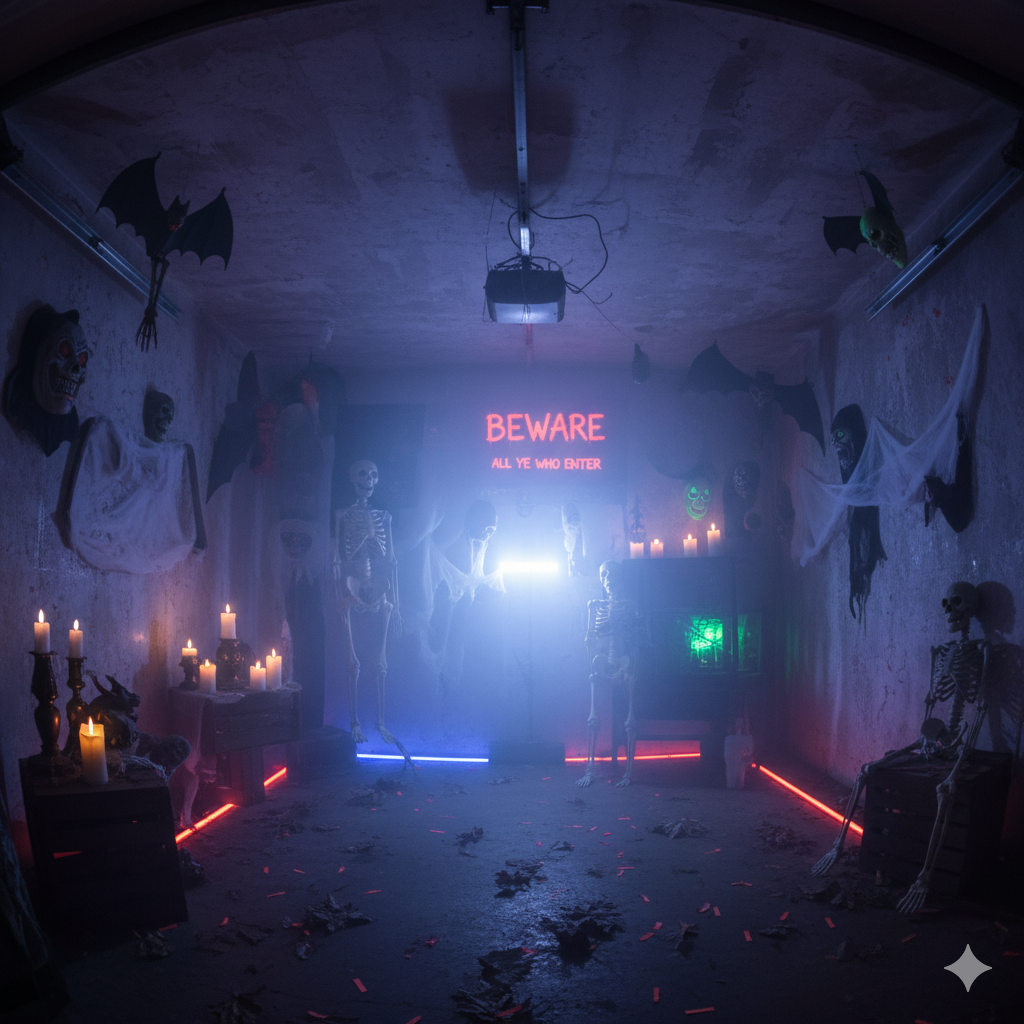
- Dim Lighting: Use low-wattage or colored bulbs to create a gloomy atmosphere. Place black lights strategically to highlight glowing decorations.
- Fog Machines: Place fog machines in key areas to add a mysterious and eerie fog. Ensure proper ventilation to avoid safety hazards.
- Special Effects: Incorporate strobe lights and moving shadows to create unsettling visual effects. Use LED candles or lanterns for a spooky glow.
3. Sound and Music
- Background Music: Play a loop of creepy soundtracks or ambient horror sounds. Choose tracks that include creaky doors, ghostly moans, and thunder.
- Scare Sounds: Use motion-activated sound devices to play sudden scares like screams or growls when guests approach certain areas.
- Voice Effects: Consider adding a haunted narrator or eerie whispers to enhance the atmosphere.
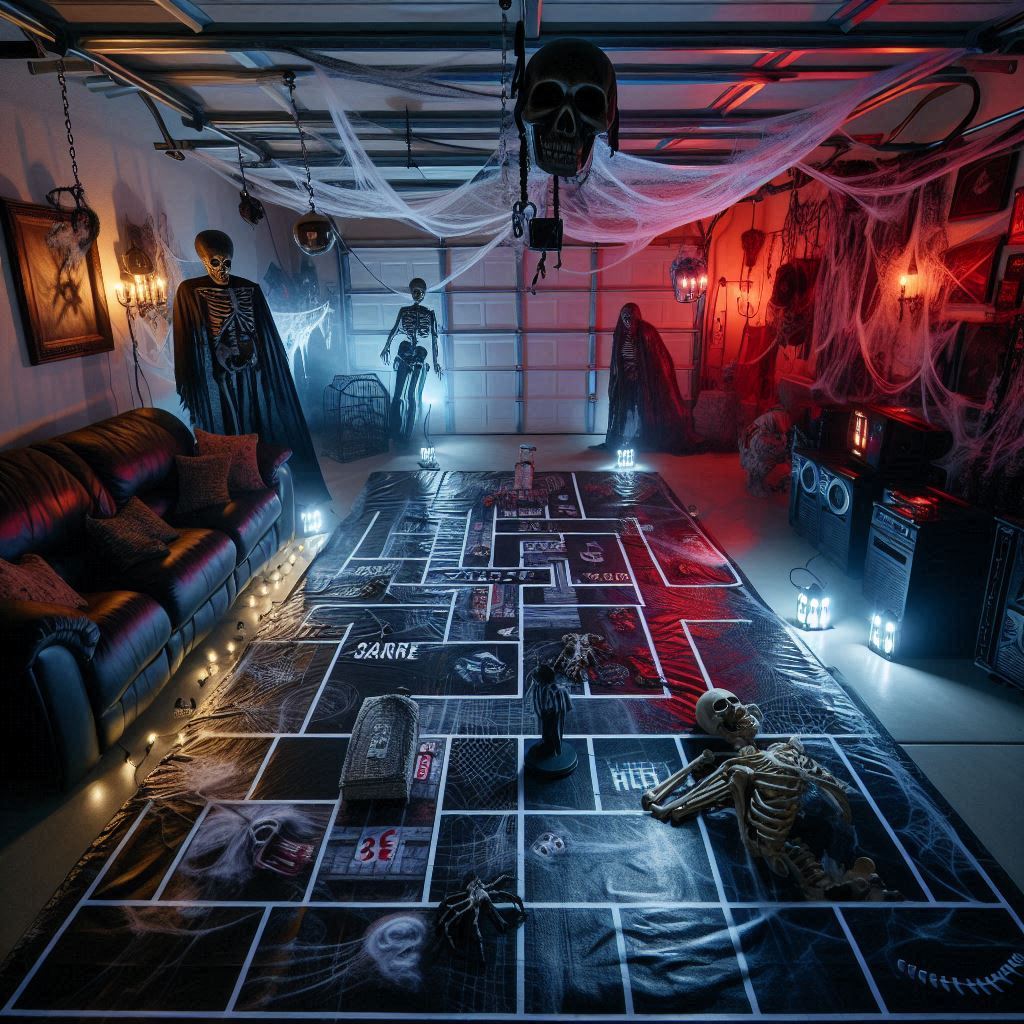
Building Scare Zones
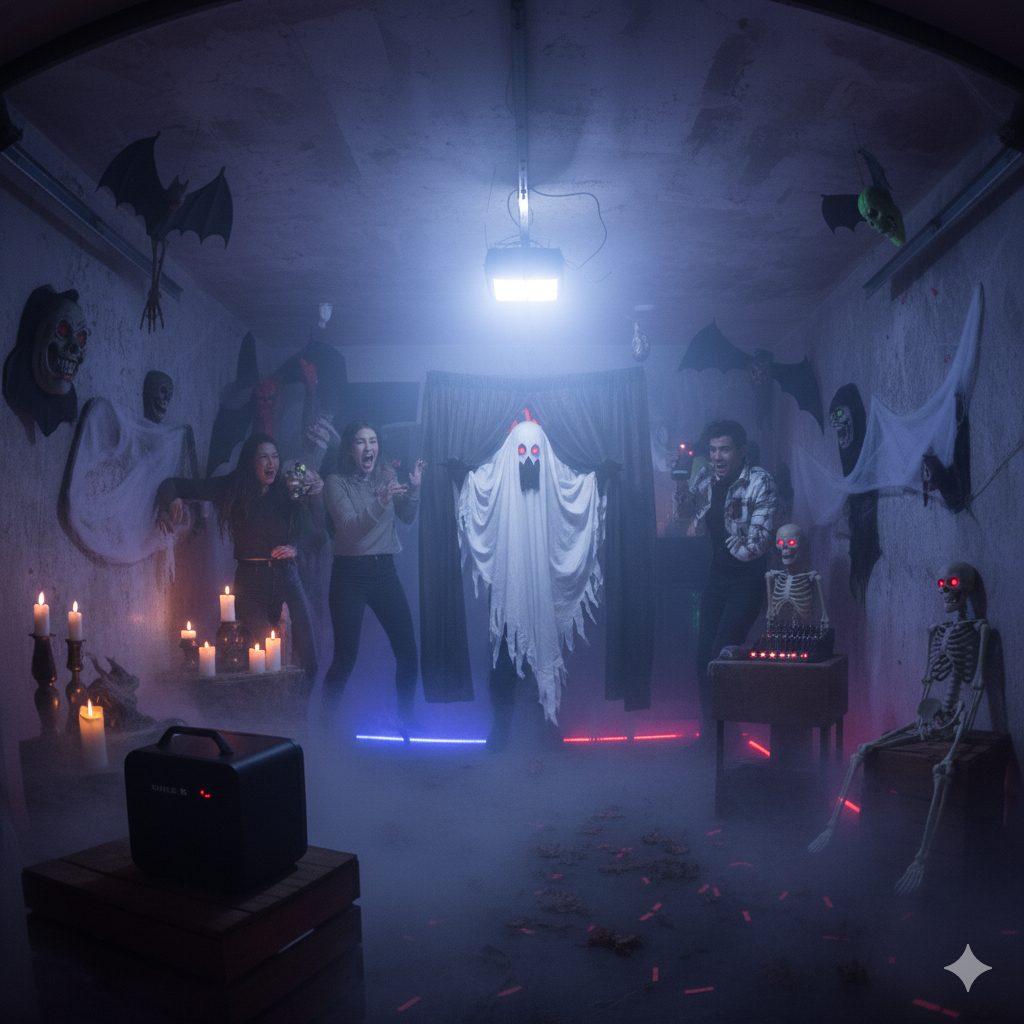
1. Jump Scares
- Hidden Actors: Place hidden actors behind curtains or in dark corners to jump out and startle guests. Ensure actors are trained to deliver scares safely.
- Animated Props: Use motion-activated props like animatronic skeletons or popping eyes to surprise visitors.
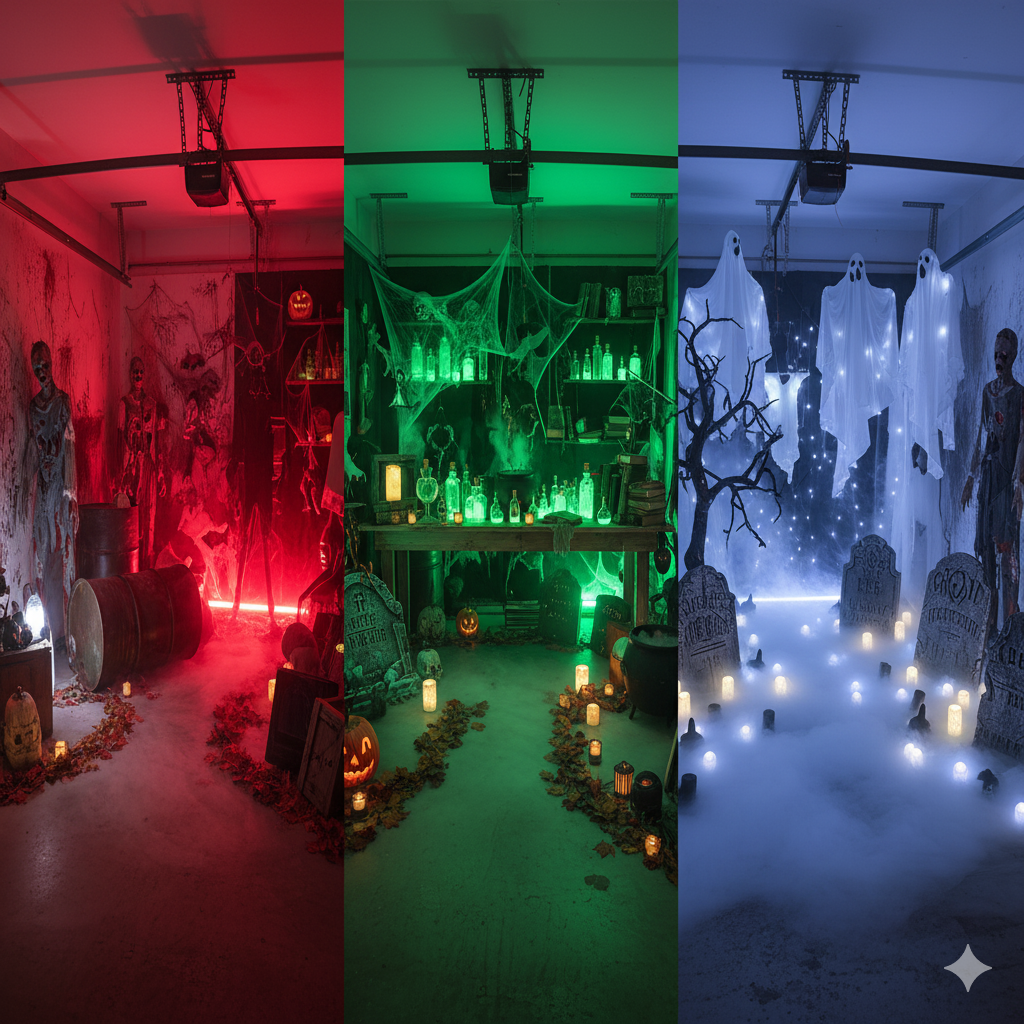
2. Themed Rooms
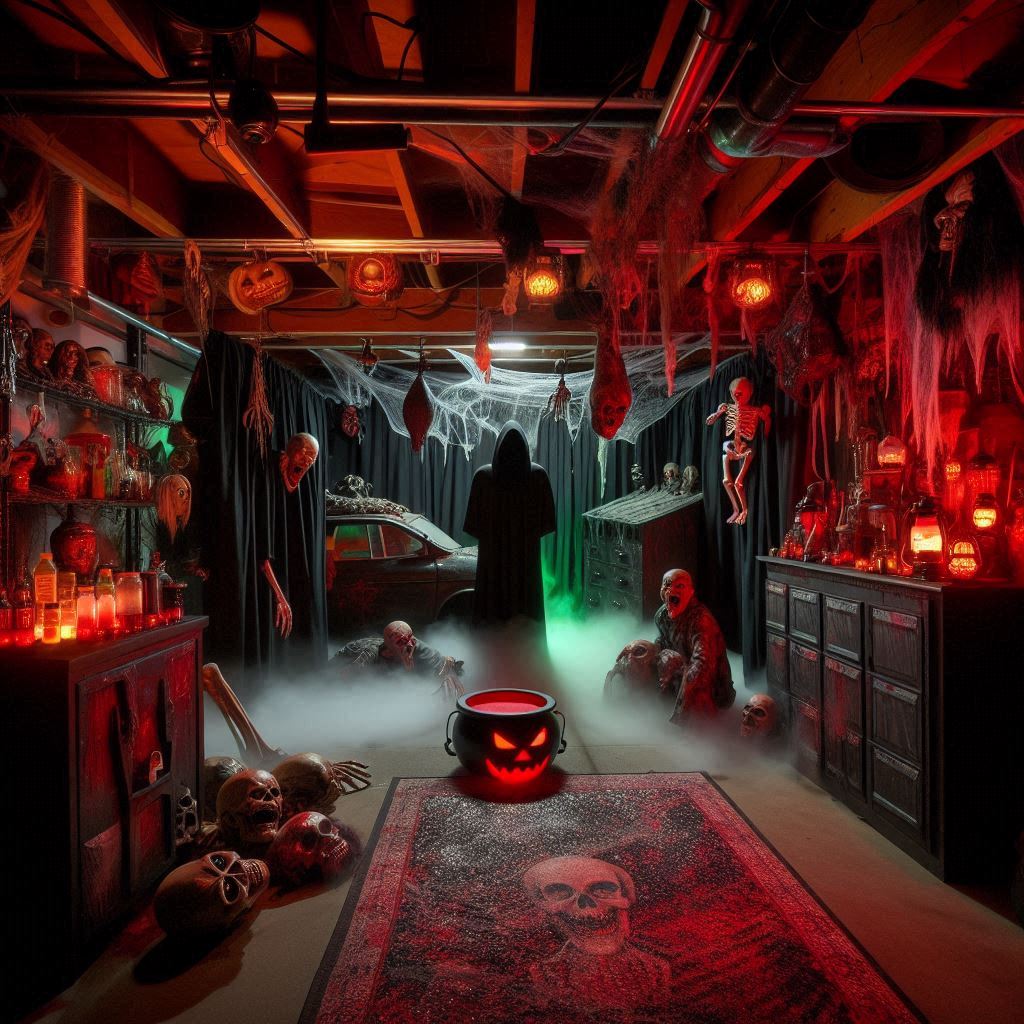
- Zombie Apocalypse: Create a room with zombie props, fake blood, and dim red lighting. Add groaning sound effects and use fog machines to create a desolate atmosphere.
- Witch’s Lair: Design a room with a cauldron, potion bottles, and witch’s hats. Use green lighting and eerie music to set the mood.
- Ghostly Graveyard: Set up a graveyard scene with tombstones, ghost figures, and flickering LED lights. Add fog and low, haunting music to complete the effect.
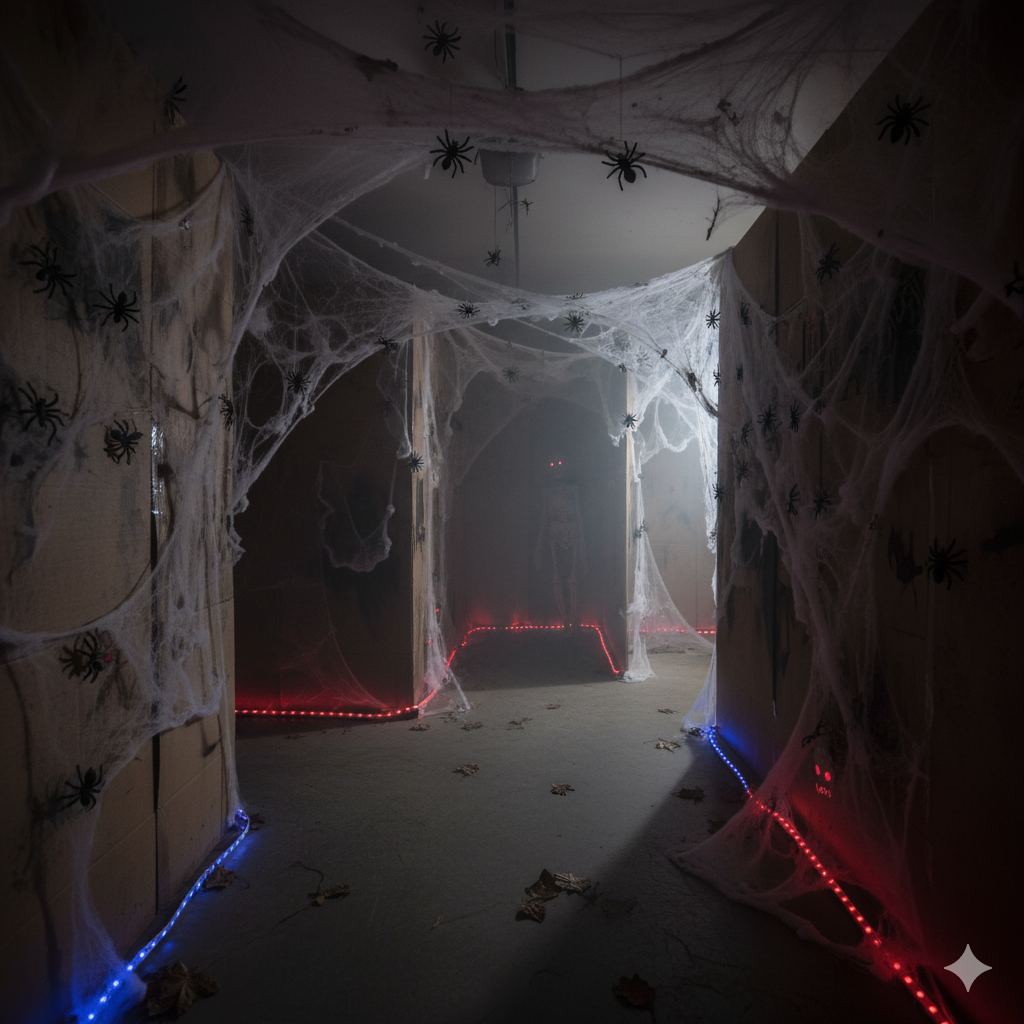
3. Creepy Passageways
- Maze Effect: Create a maze with twisty turns and unexpected drops. Use fabric or cardboard to make the pathways dark and narrow.
- Spider Webs: Cover passageways with fake spider webs and place plastic spiders in hidden spots to create a creepy crawl effect.
Safety and Accessibility
1. Ensure Safety
- Clear Pathways: Keep walkways clear of obstacles to prevent tripping. Use reflective tape or glow-in-the-dark markers to highlight edges and steps.
- Fire Safety: Avoid using open flames and ensure that all electrical components are in good condition. Have a fire extinguisher nearby.
- Ventilation: Ensure proper ventilation if using fog machines or other smoke effects to avoid air quality issues.
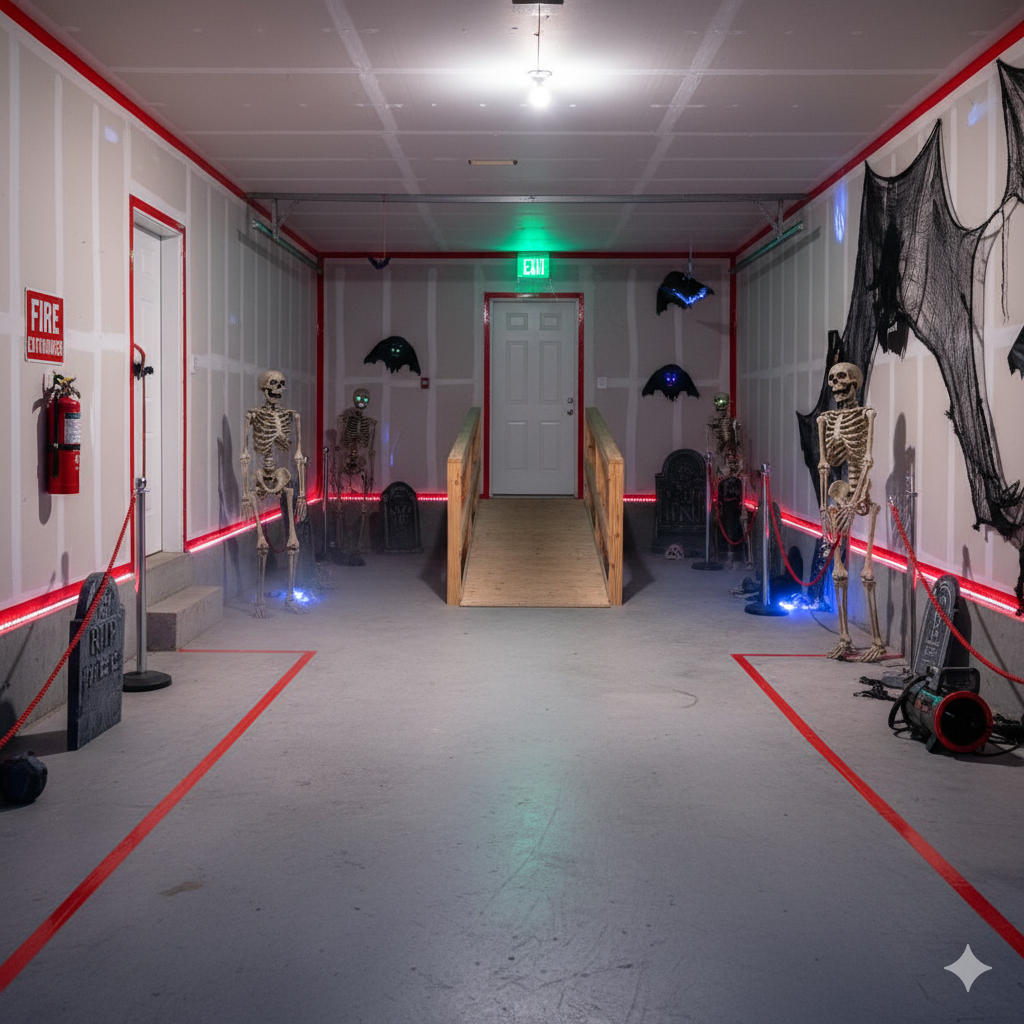
2. Accessibility
- Accommodation: Ensure that your haunted house is accessible to all guests, including those with disabilities. Avoid tight spaces and provide clear exits.
- Guidance: Have signs or guides to help guests navigate through the haunted house safely.
Final Touches
1. Dress Rehearsal
- Test Run: Perform a test run of the haunted house with friends or family. Observe their reactions and make any necessary adjustments to improve the experience.
- Feedback: Gather feedback on what worked and what could be improved. Make final adjustments based on their suggestions.
2. Promote Your Haunted House
- Invitations: Spread the word about your haunted house through social media, local community boards, or word of mouth.
- Decorate the Exterior: Use spooky decorations on the outside of your garage to attract attention and set the mood for what’s inside.
Conclusion
Creating a haunted house in your garage is a thrilling way to celebrate Halloween and entertain your friends and family. By planning carefully, gathering the right supplies, and adding creative touches, you can transform your garage into a spooky and immersive experience. Whether you’re aiming for classic scares or playful frights, this guide will help you build a haunted house that will leave a lasting impression. Embrace the Halloween spirit, get creative, and have a hauntingly good time!
Don’t forget to save this Pin!